Breathe new life into old furniture around the house - decoupaging gives items a new look.
If you can't draw or paint, decoupage!
1. Prepare the item.
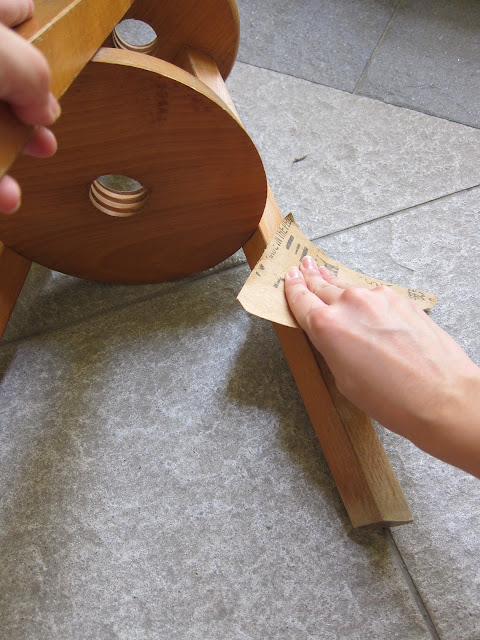
Firstly, I unscrewed the seat because I had other plans for it.
Sand the item down to smoothen the surfaces. Sanding also removes varnishing and allows the glue to adhere better.
2. Choose your paper material. I used gift-wrapping paper from a scrap booking shop.
Note: Decoupaging flat surfaces is much easier than curved surfaces. If your surface is curved, you might want to use a lighter and more moldable material.
3. Cut your paper into workable pieces.
I measured and cut a strip of paper, making sure that it covered the underside of the leg as well.
4. Apply glue.
I use Modge Podge Hard Coat. Any other decoupage glue from craft shops would work as well.
Coat the wood surface with glue. Be generous, but spread the glue evenly.
5. Stick the paper to object.
Make sure that there are no air pockets underneath. I do this by vigorously rubbing the paper with my fingers and brush. I don't suggest you do this with delicate materials as they might tear.
6. Apply glue over entire surface.
Instead of using whole pieces of paper, you can also cut/tear material to make other shapes or designs. If your material is not flexible, you might want to do this for curved surfaces. (This will add years to your life.) Stick the pieces one by one, overlapping them as you please.
I did that here because I was lazy to measure out the circle. (On hindsight, I should've just taken the time)
7. Lacquer.
The glue will feel tacky even after it's completely dry. To reduce the tackiness and also to waterproof your item, spray the entire item with lacquer. Let it dry for a couple of hours.
Done.
And the possibilities are not limited to furniture. Use your imagination and decoupage almost anything. Like a tissue box. =)
Next up, how to cushy your tushy - cushioning a wooden seat.


OMG even prettier. I LIKE!
ReplyDelete